Steve VA7NR
A drive-on antenna support configuration allows one to get out in the field, to parks, islands, mountaintops, and to quickly set up and to operate comfortably from the front seat or tailgate of a vehicle.
This fun project yields an inexpensive setup which should cost not much more than $100 (your mileage may vary), including a dipole antenna, and it disassembles to easily store away.
Note that this article assumes that one already has at hand a portable, powered HF radio, and also a length of lightweight, suitable coax cable of 35’ or more, such as mini 8/U, and is familiar with safety, and rules and regulations.
We also assume that one can build and tune an HF dipole antenna (a good project in itself!), as this article is mainly about the support structure.
Parts List for the Drive-On Support:
| 2’ scrap piece of 2”x6” board – $0 |
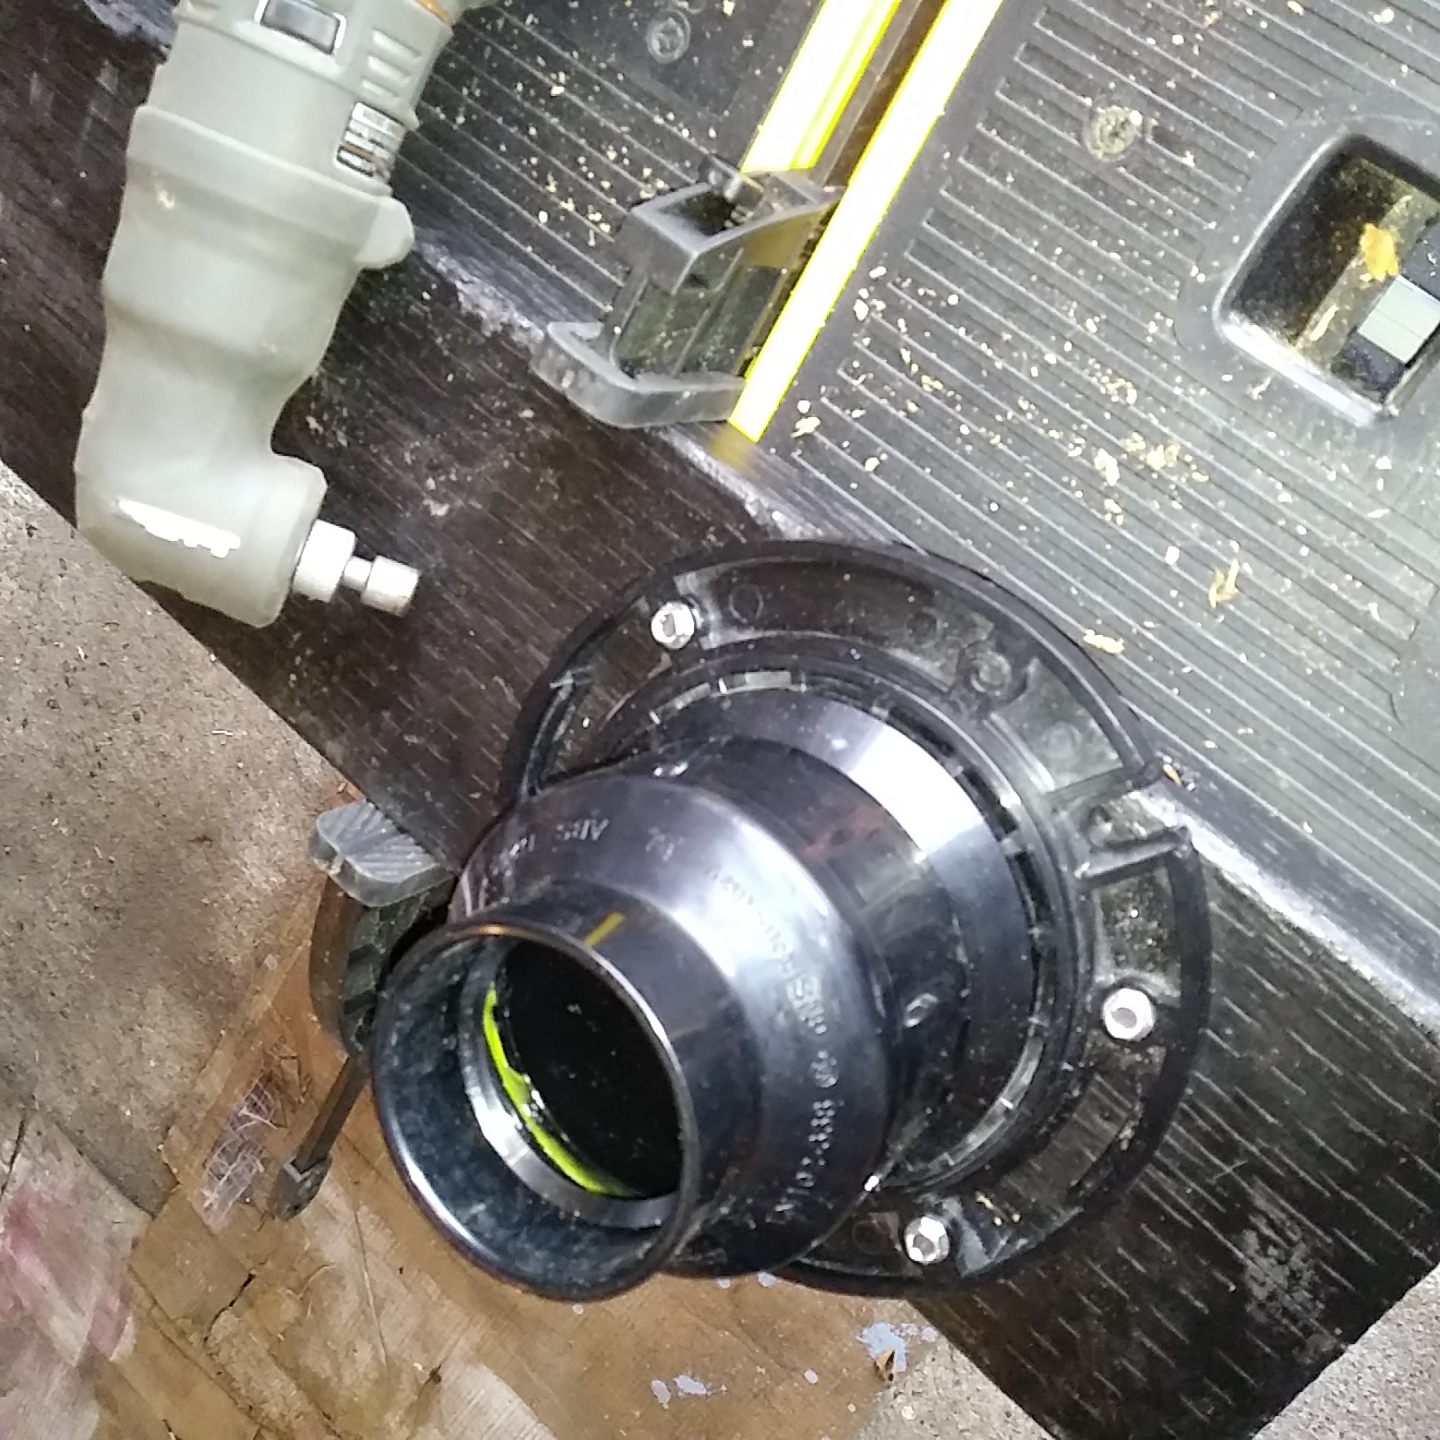
| 3” pvc plumbing flange – $20 |
| 3” to 2” pvc reducing adapter – $5 |
| 3’ length of 2” pvc pipe – $10 |
| 1 – 24’ telescopic (pool cleaning) pole – $45-$50 |
| 1 – 4” portion of handle of old paint roller or similar |
| pvc glue |
| 6 – 1 1/2” hex head screws |
Antenna Parts:
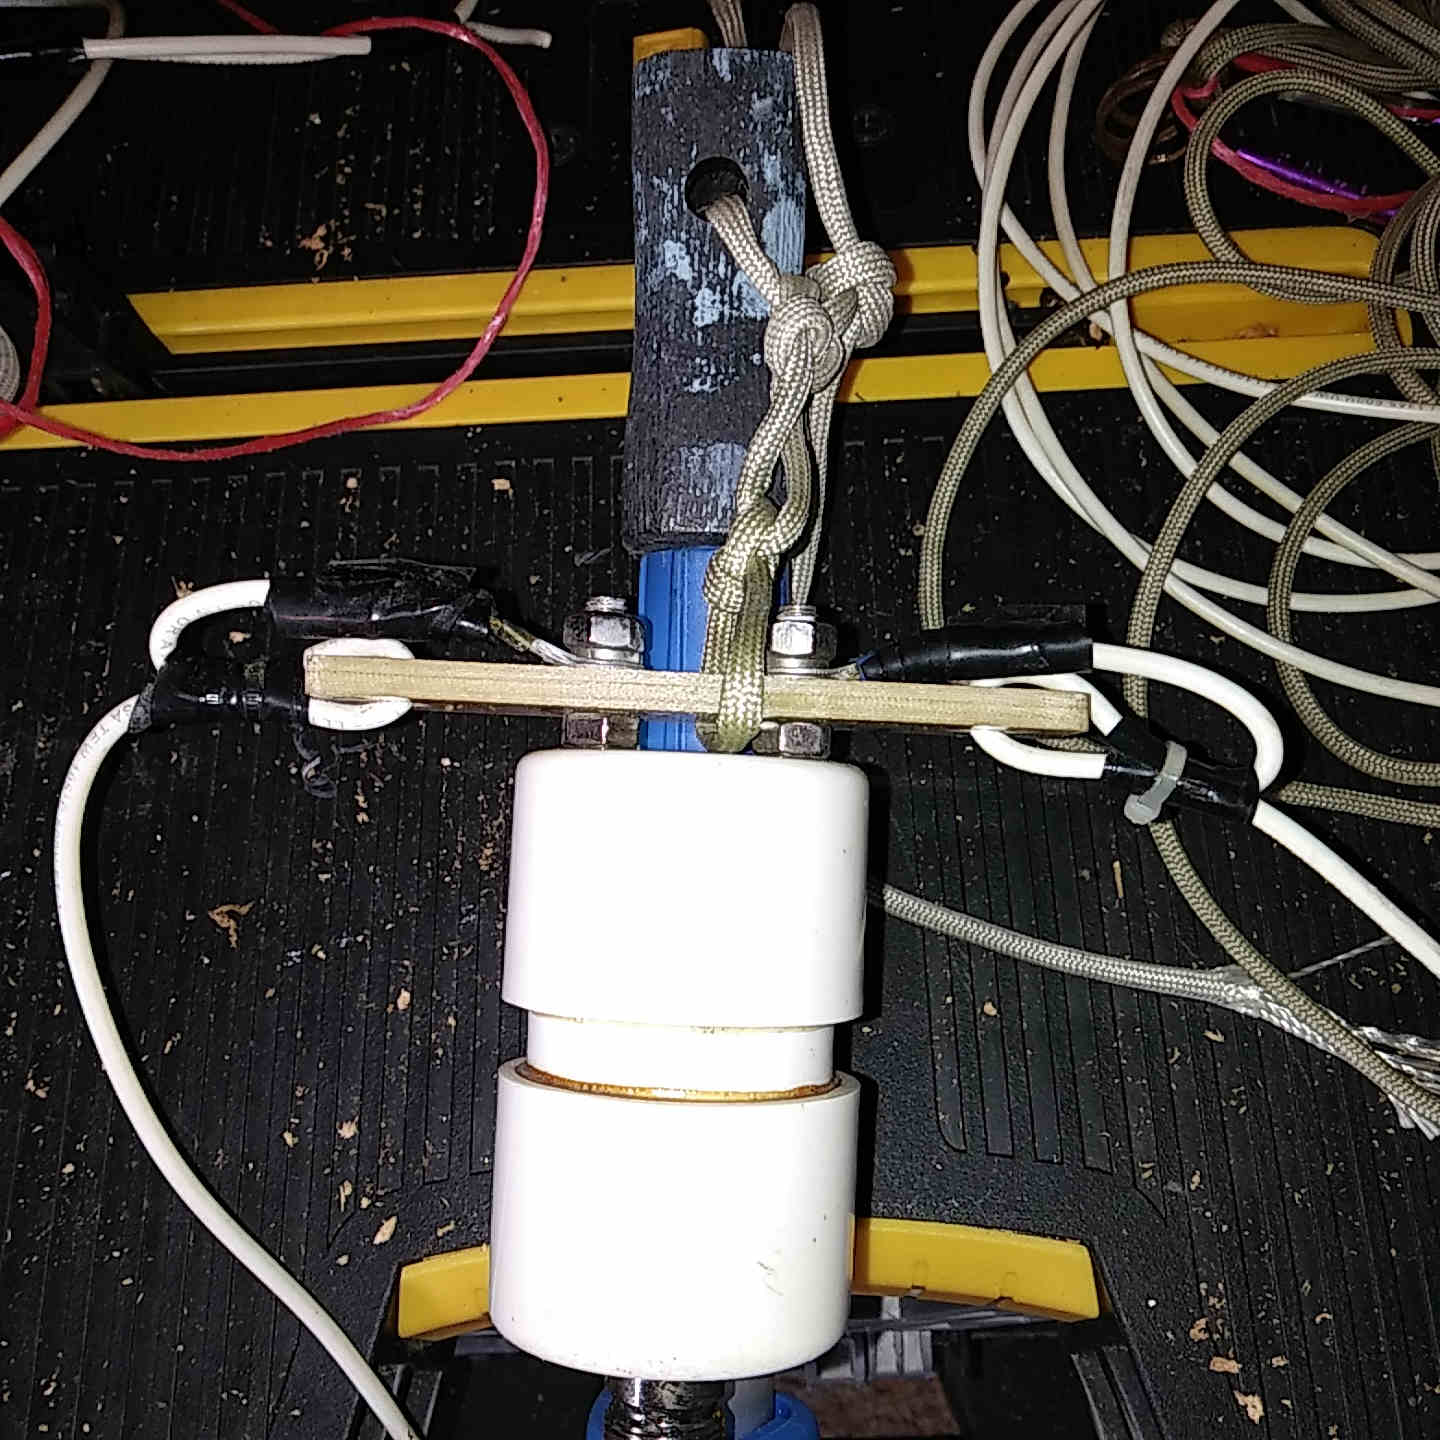
| 1:1 current balun – $20-$25 |
| 14 gauge stranded, insulated wire – from the parts box |
| 2 plastic end insulators – $2 |
| twine |
| electrical tape |
| zip ties |
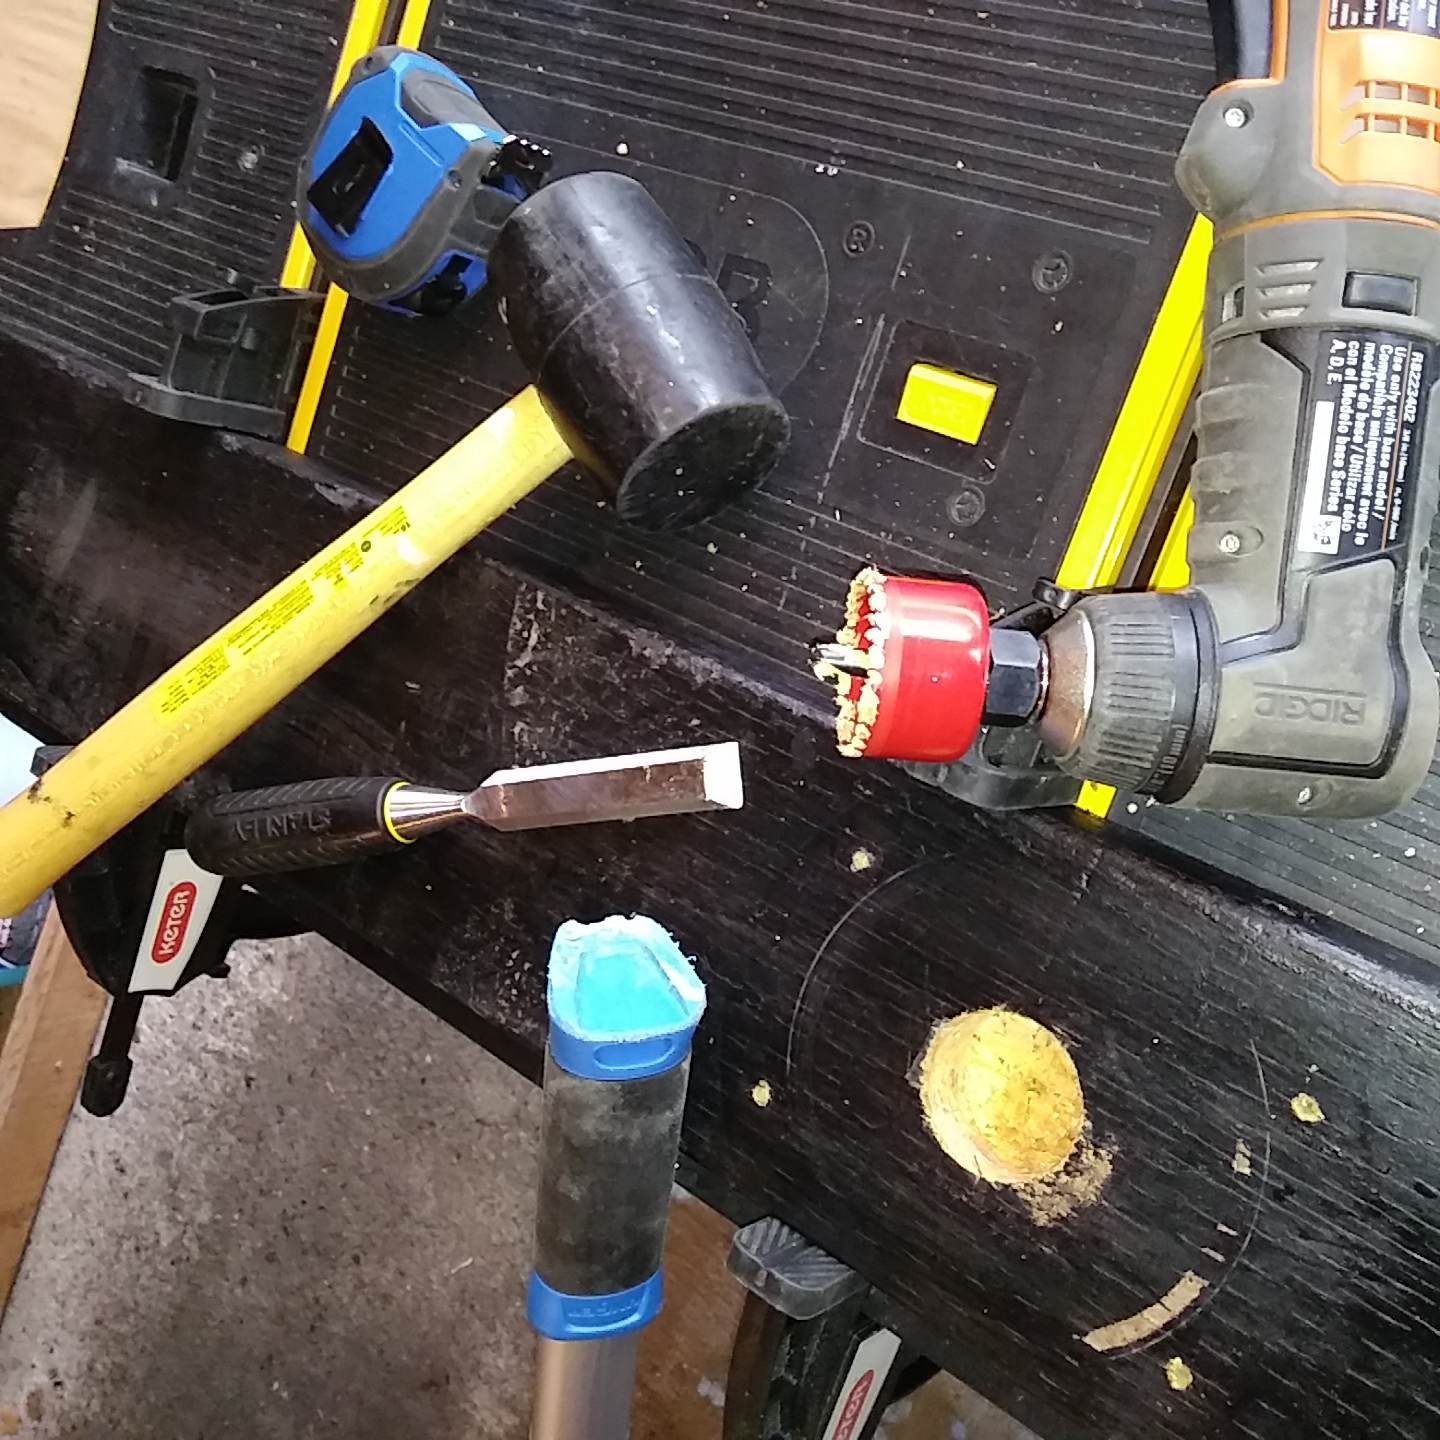
Having chosen, sawed to length and painted the 2”x6” board, I halfway countersunk a 2 1/8” diameter hole into the board with a hole saw and wood chisel, for the foot of the telescopic pole to fit into, leaving enough room for the vehicle wheel to hold down the other side of the board.
Having screwed the 3” plumbing flange over the hole to one side of the board with 1 1/2” hex head screws, I glued the 3” to 2” pvc reduction adapter to the flange.
I just fitted the 2” pvc pipe by friction into the top of the adapter, but alternatively one could ream out the adapter so that the pipe will slide down through to meet the board, as adequate vertical stability is required for the telescopic pole, which is about 1 7/8” in diameter at its widest location.
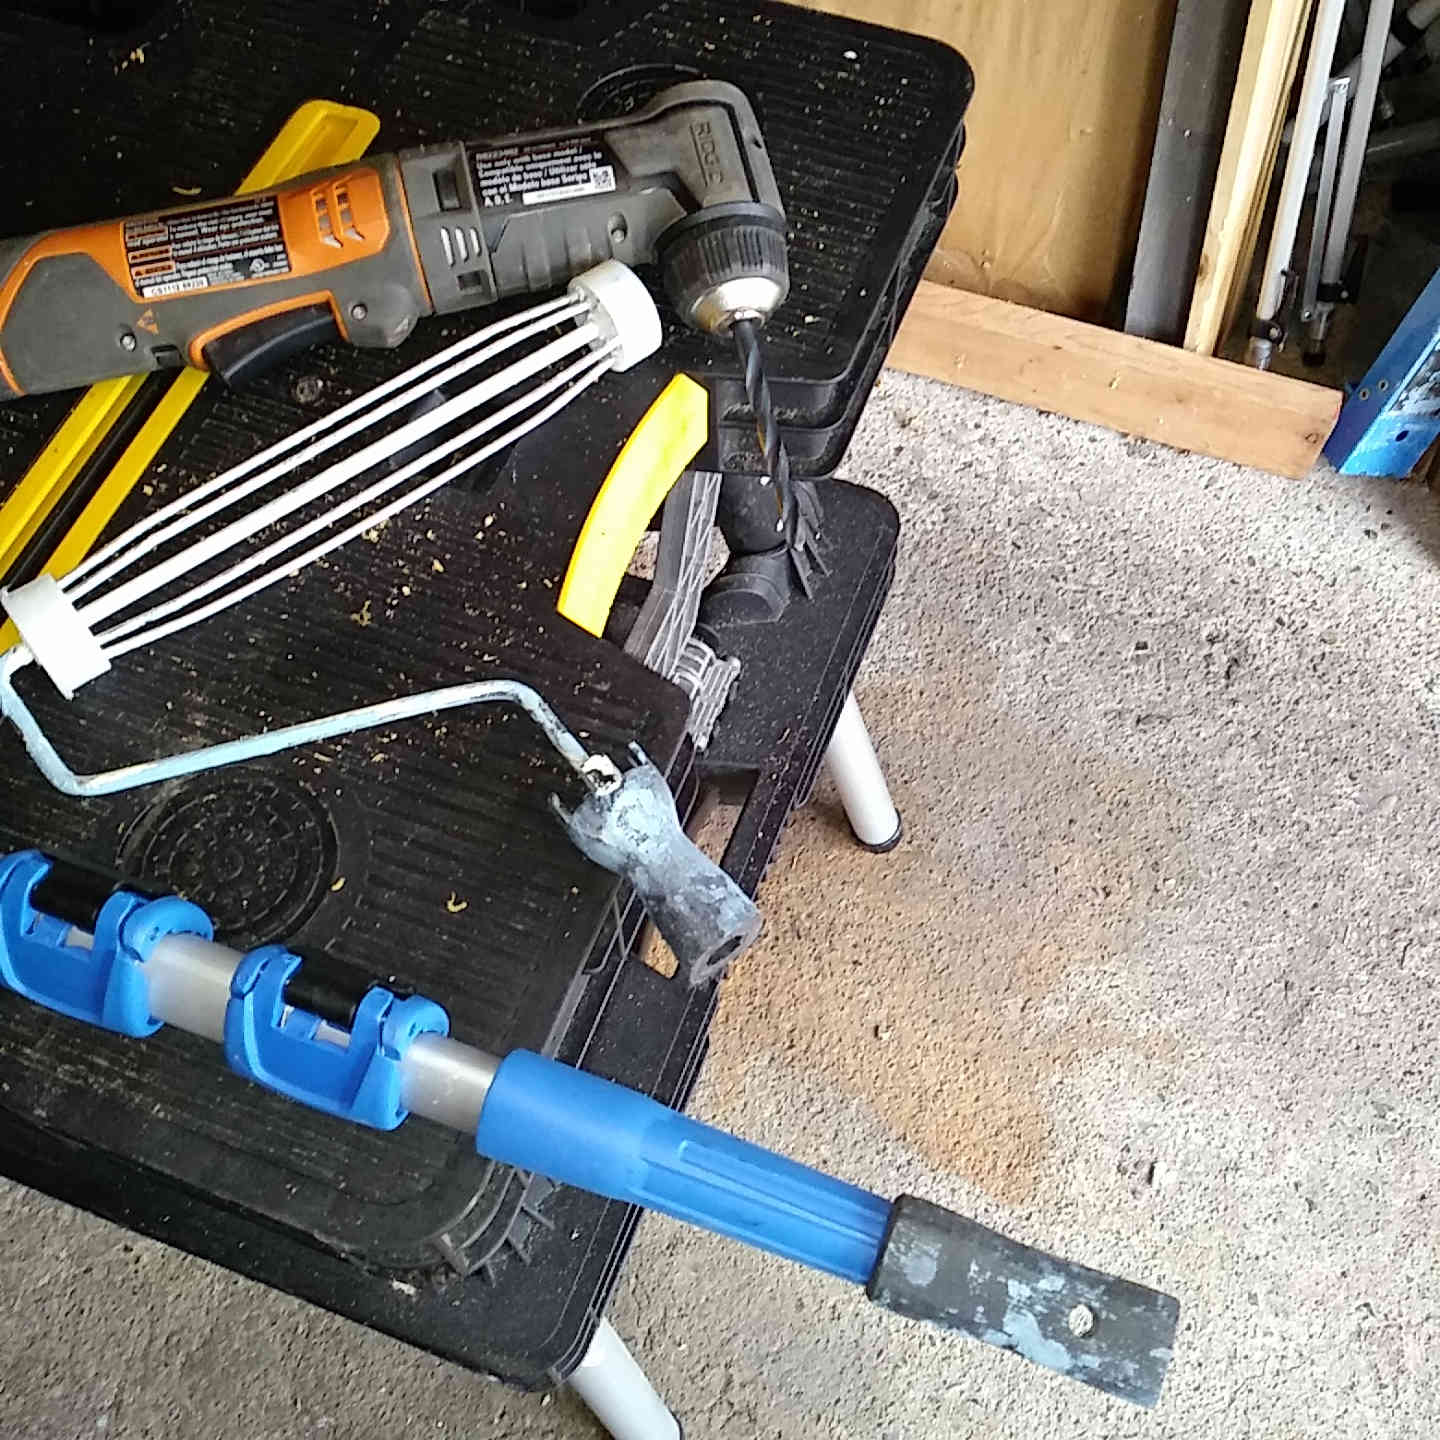
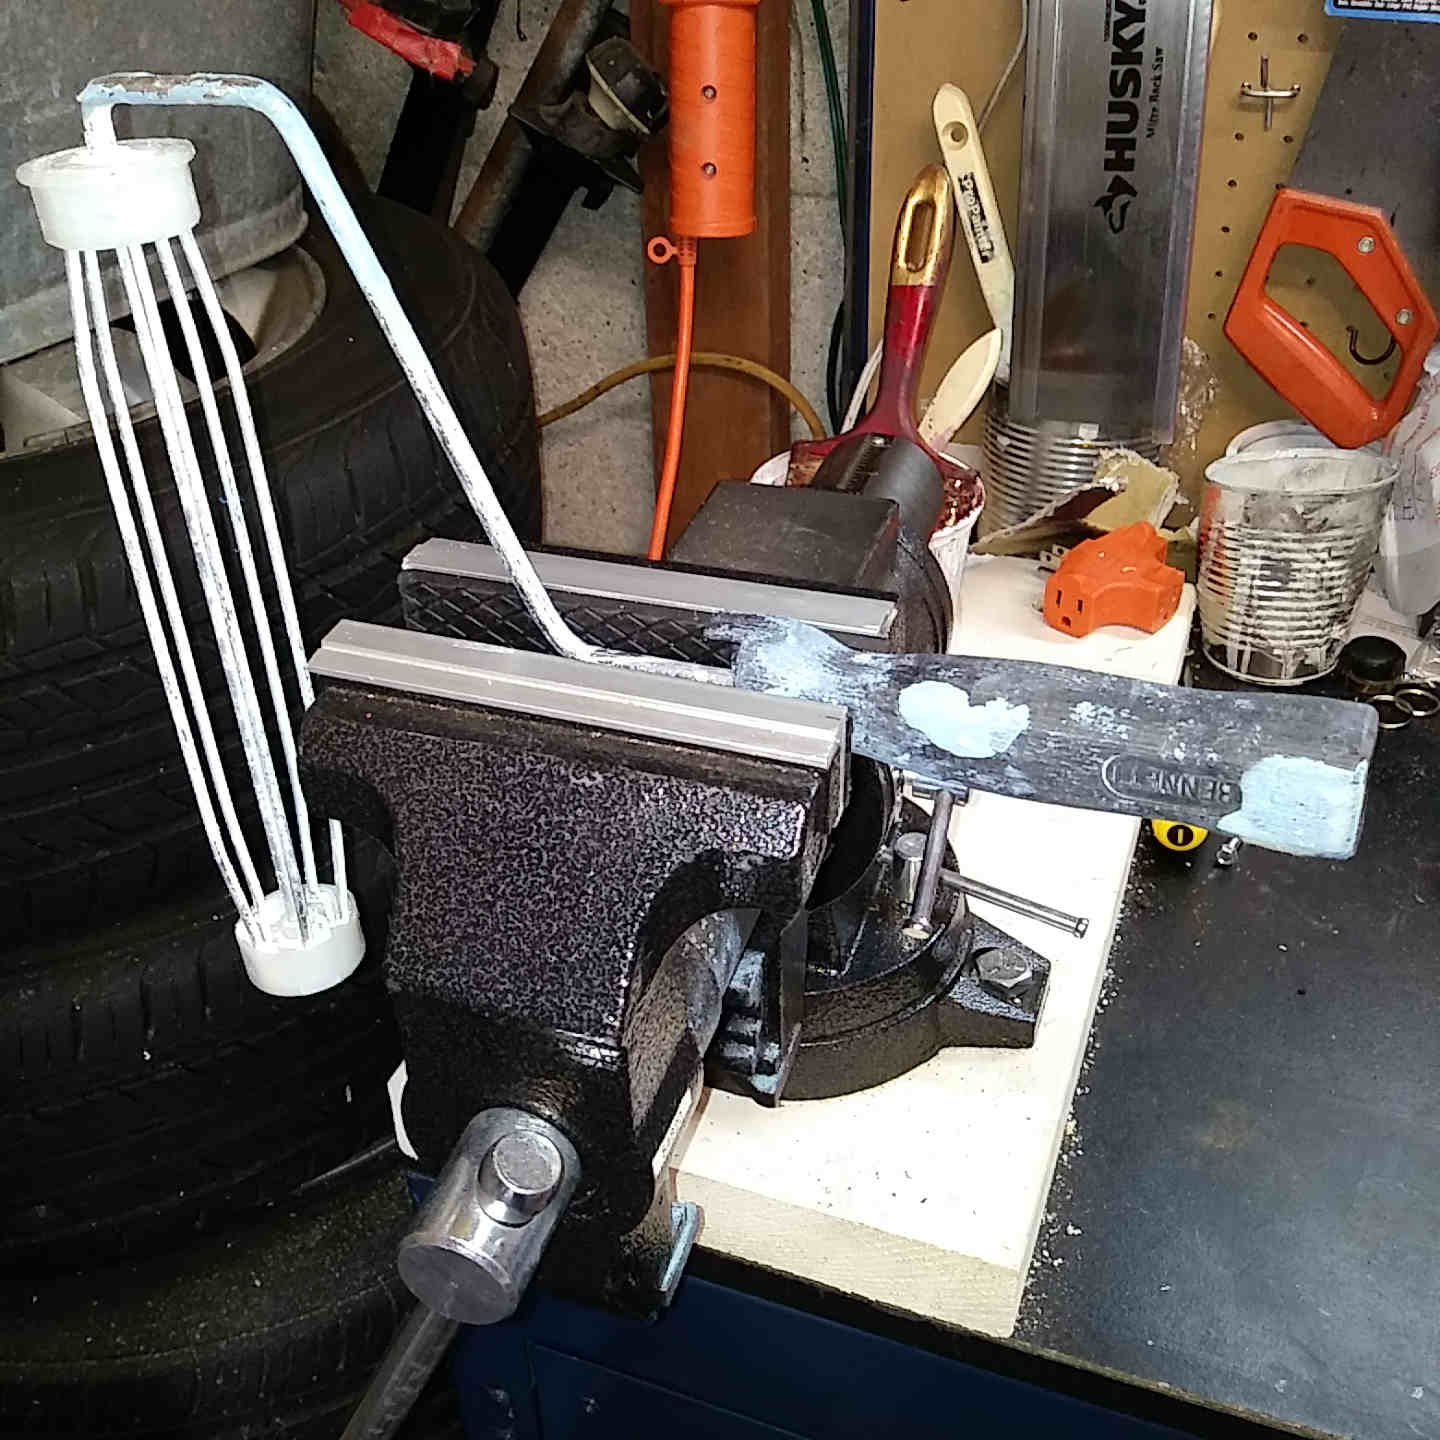
To the threaded top of the telescopic pole I screwed a 4”-long section of handle cut from an old paint roller, then drilled a generous 3/8” hole through the handle for tying off the antenna. I also squared up the angled bottom end of the pole handle so that it would seat better into the hole sunk into the board.
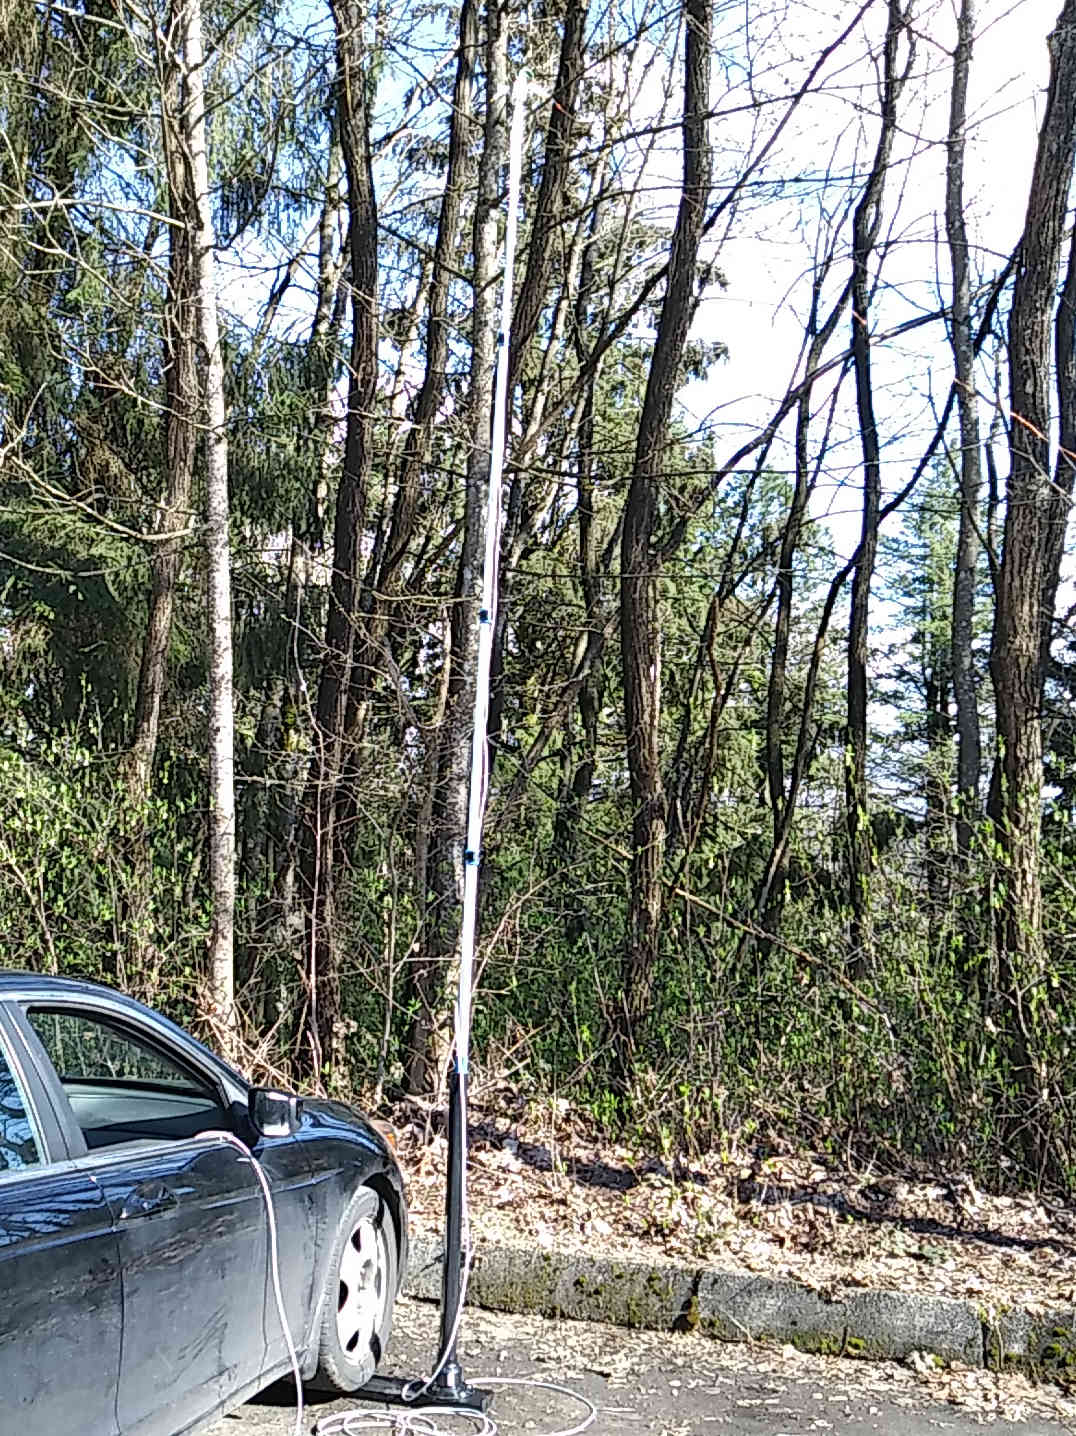
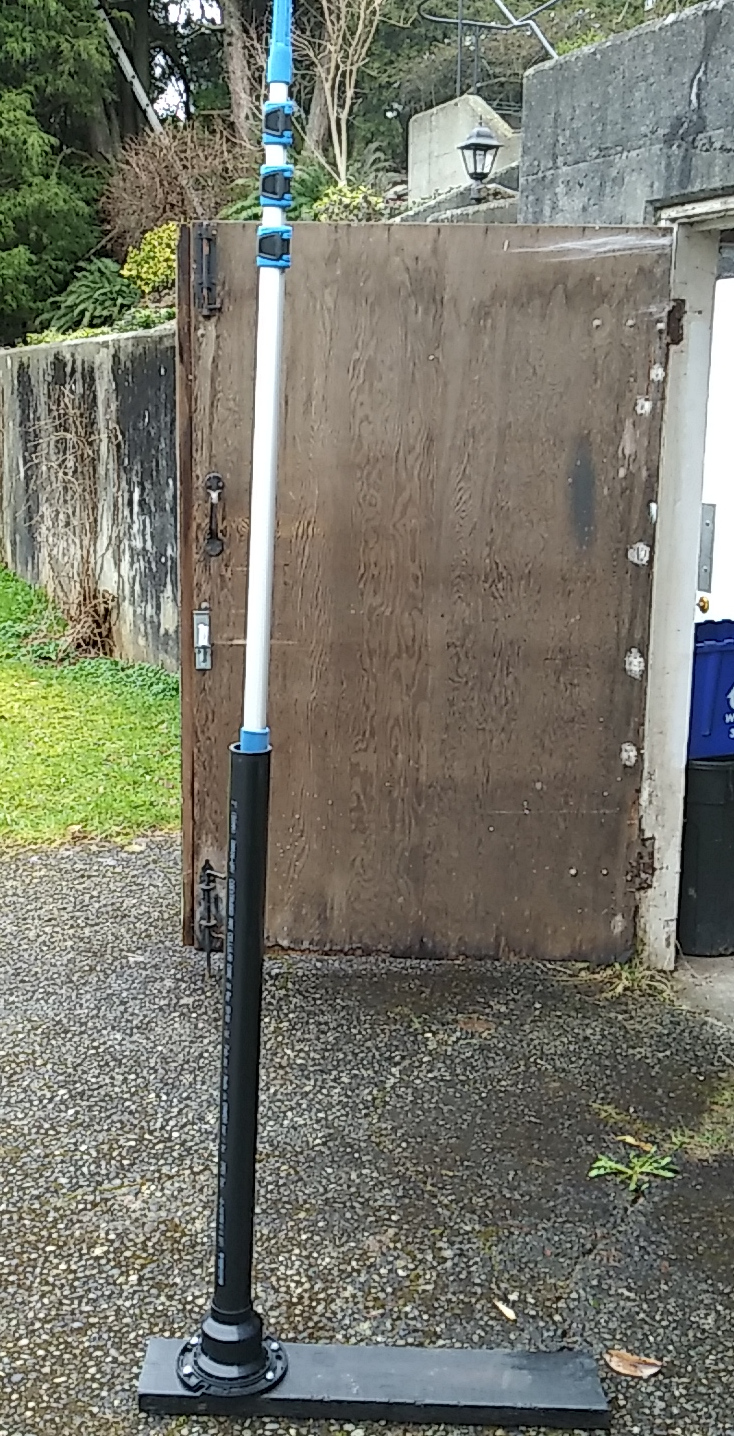
To test the setup, one must pick a good spot with overhead clearance and with locations to tie off the dipole antenna, then one drives onto the board, inserts the pvc pipe into the flange and slides the telescopic pole inside the pipe.
The dipole is tied to the hole drilled into the top of the pole and when the coax cable is threaded on, it can be tied off for strain relief near the top of the pole.
For more, optional pole stability, I clamped on 1 1/4” and 1 1/2” U-bolts after the first and second pole extensions, and to the U-bolts attached guy ropes in order to give 4-sided support after the dipole was tied off.
You will find that the telescopic pole works well at the full 24’ extension, and bends a bit to allow for imperfect tying-off of the dipole legs, but is more stable and easier to erect if extended to, say, 90 or 95 percent of full travel.
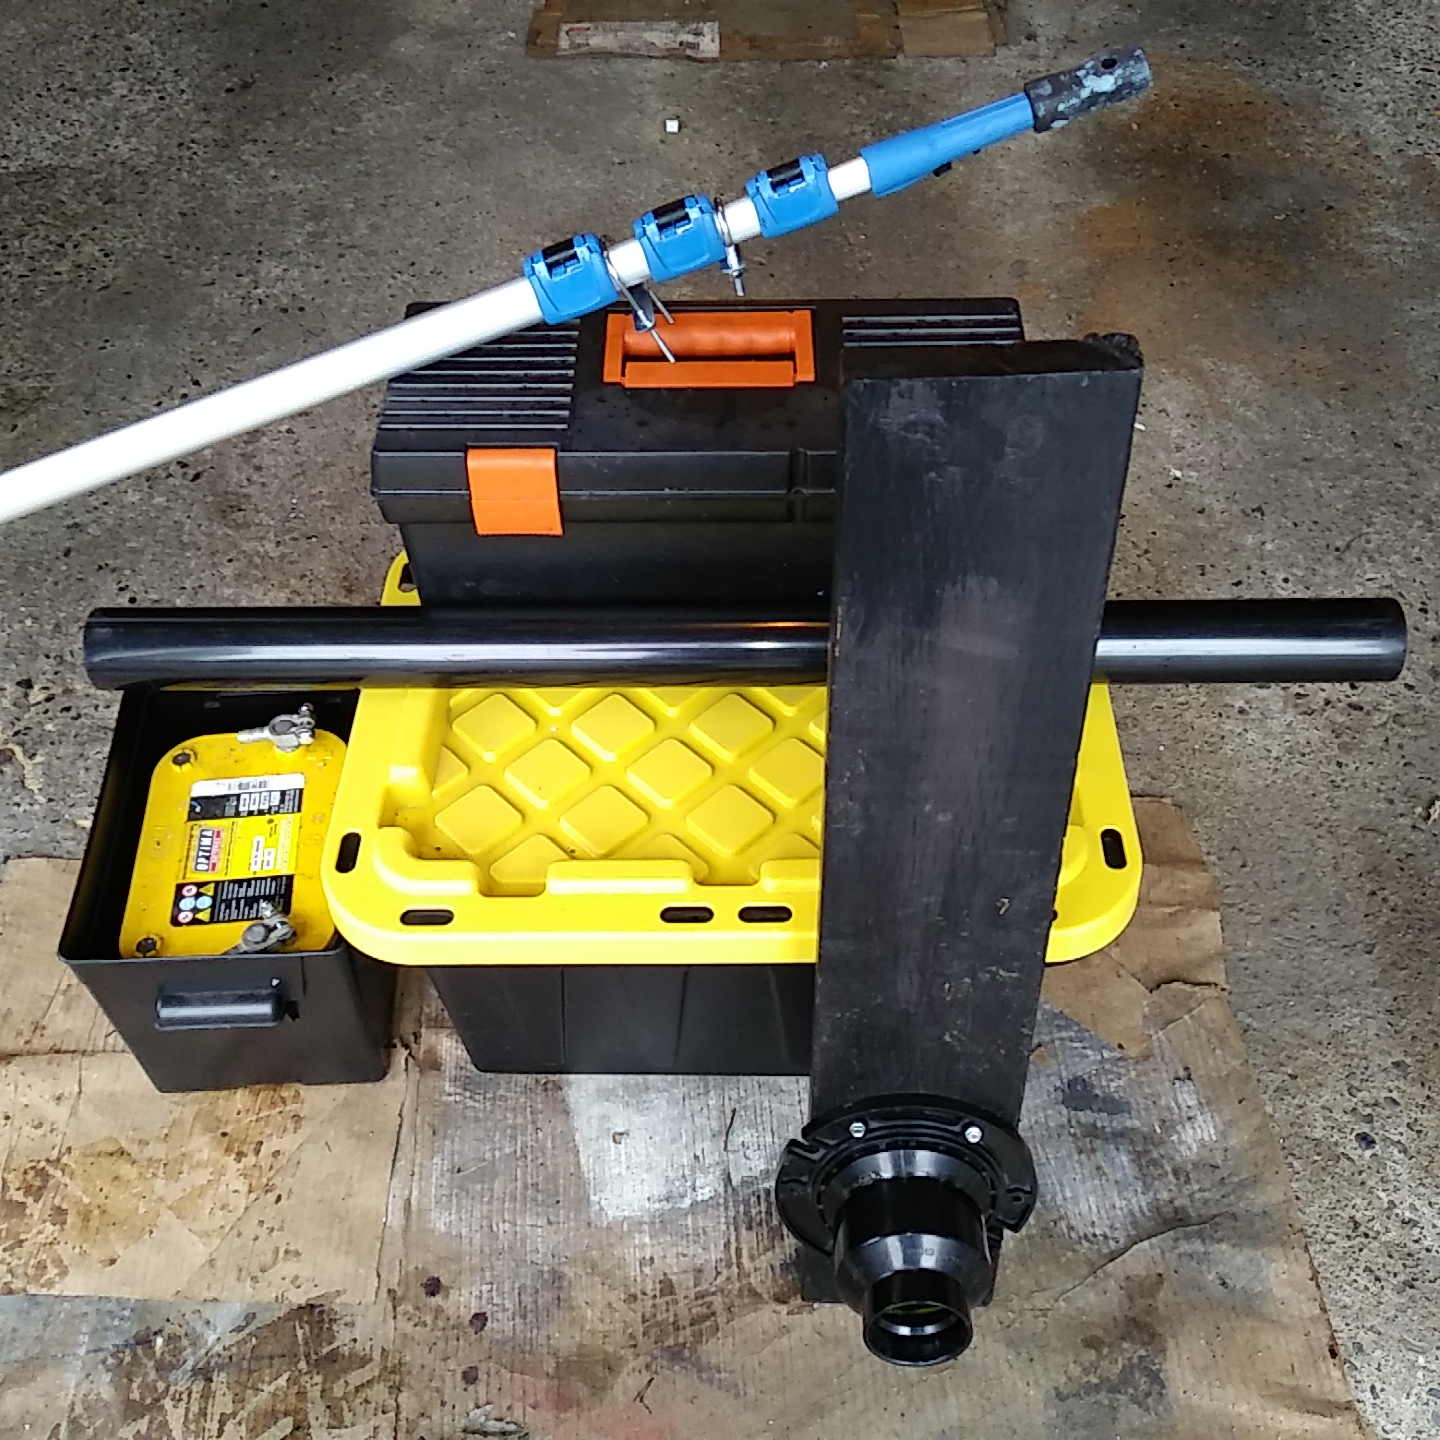
Setup will take about one hour the first time out, but this can be shortened to 20 minutes or less once you have a routine, and you will find that you need to only take the minimum amount of equipment, which can be reduced mostly to one large tote box, plus the components of the stand, a small tool box and the 12V battery.
I found that, because the 20-metre dipole was strung up at the edge of the parking lot here at the Coquitlam club site, at more than 1/4 wavelength in height, the antenna was alive with HF signals. The first voice call on 20 meters received a 59 report from the Salton City, CA park, 1,155 miles away, and then, having swapped to a 15-meter dipole, I received a 56 report from a station in North Texas.
Of course, you will also need to check the SWR’s of your new antennas, ideally with an antenna analyzer, and then prune and tune the antenna lengths to the preferred frequencies of those amateur bands. I had to add length to the 20m dipole and to shorten the 15m dipole.